Hi, as I did in my last week post, I am doing something a little different – compared to most of my previous posts. First, I want to start by providing some background information about the topic of the work/painting presented here. And, secondly, I will show you more than one painting in the post.
Background information:
The paper, for this project I used the Arches (this is the brand of watercolor paper). As you will note in this picture, this time I am using the orange (color of the paper varies by type, this orange is rough) below:
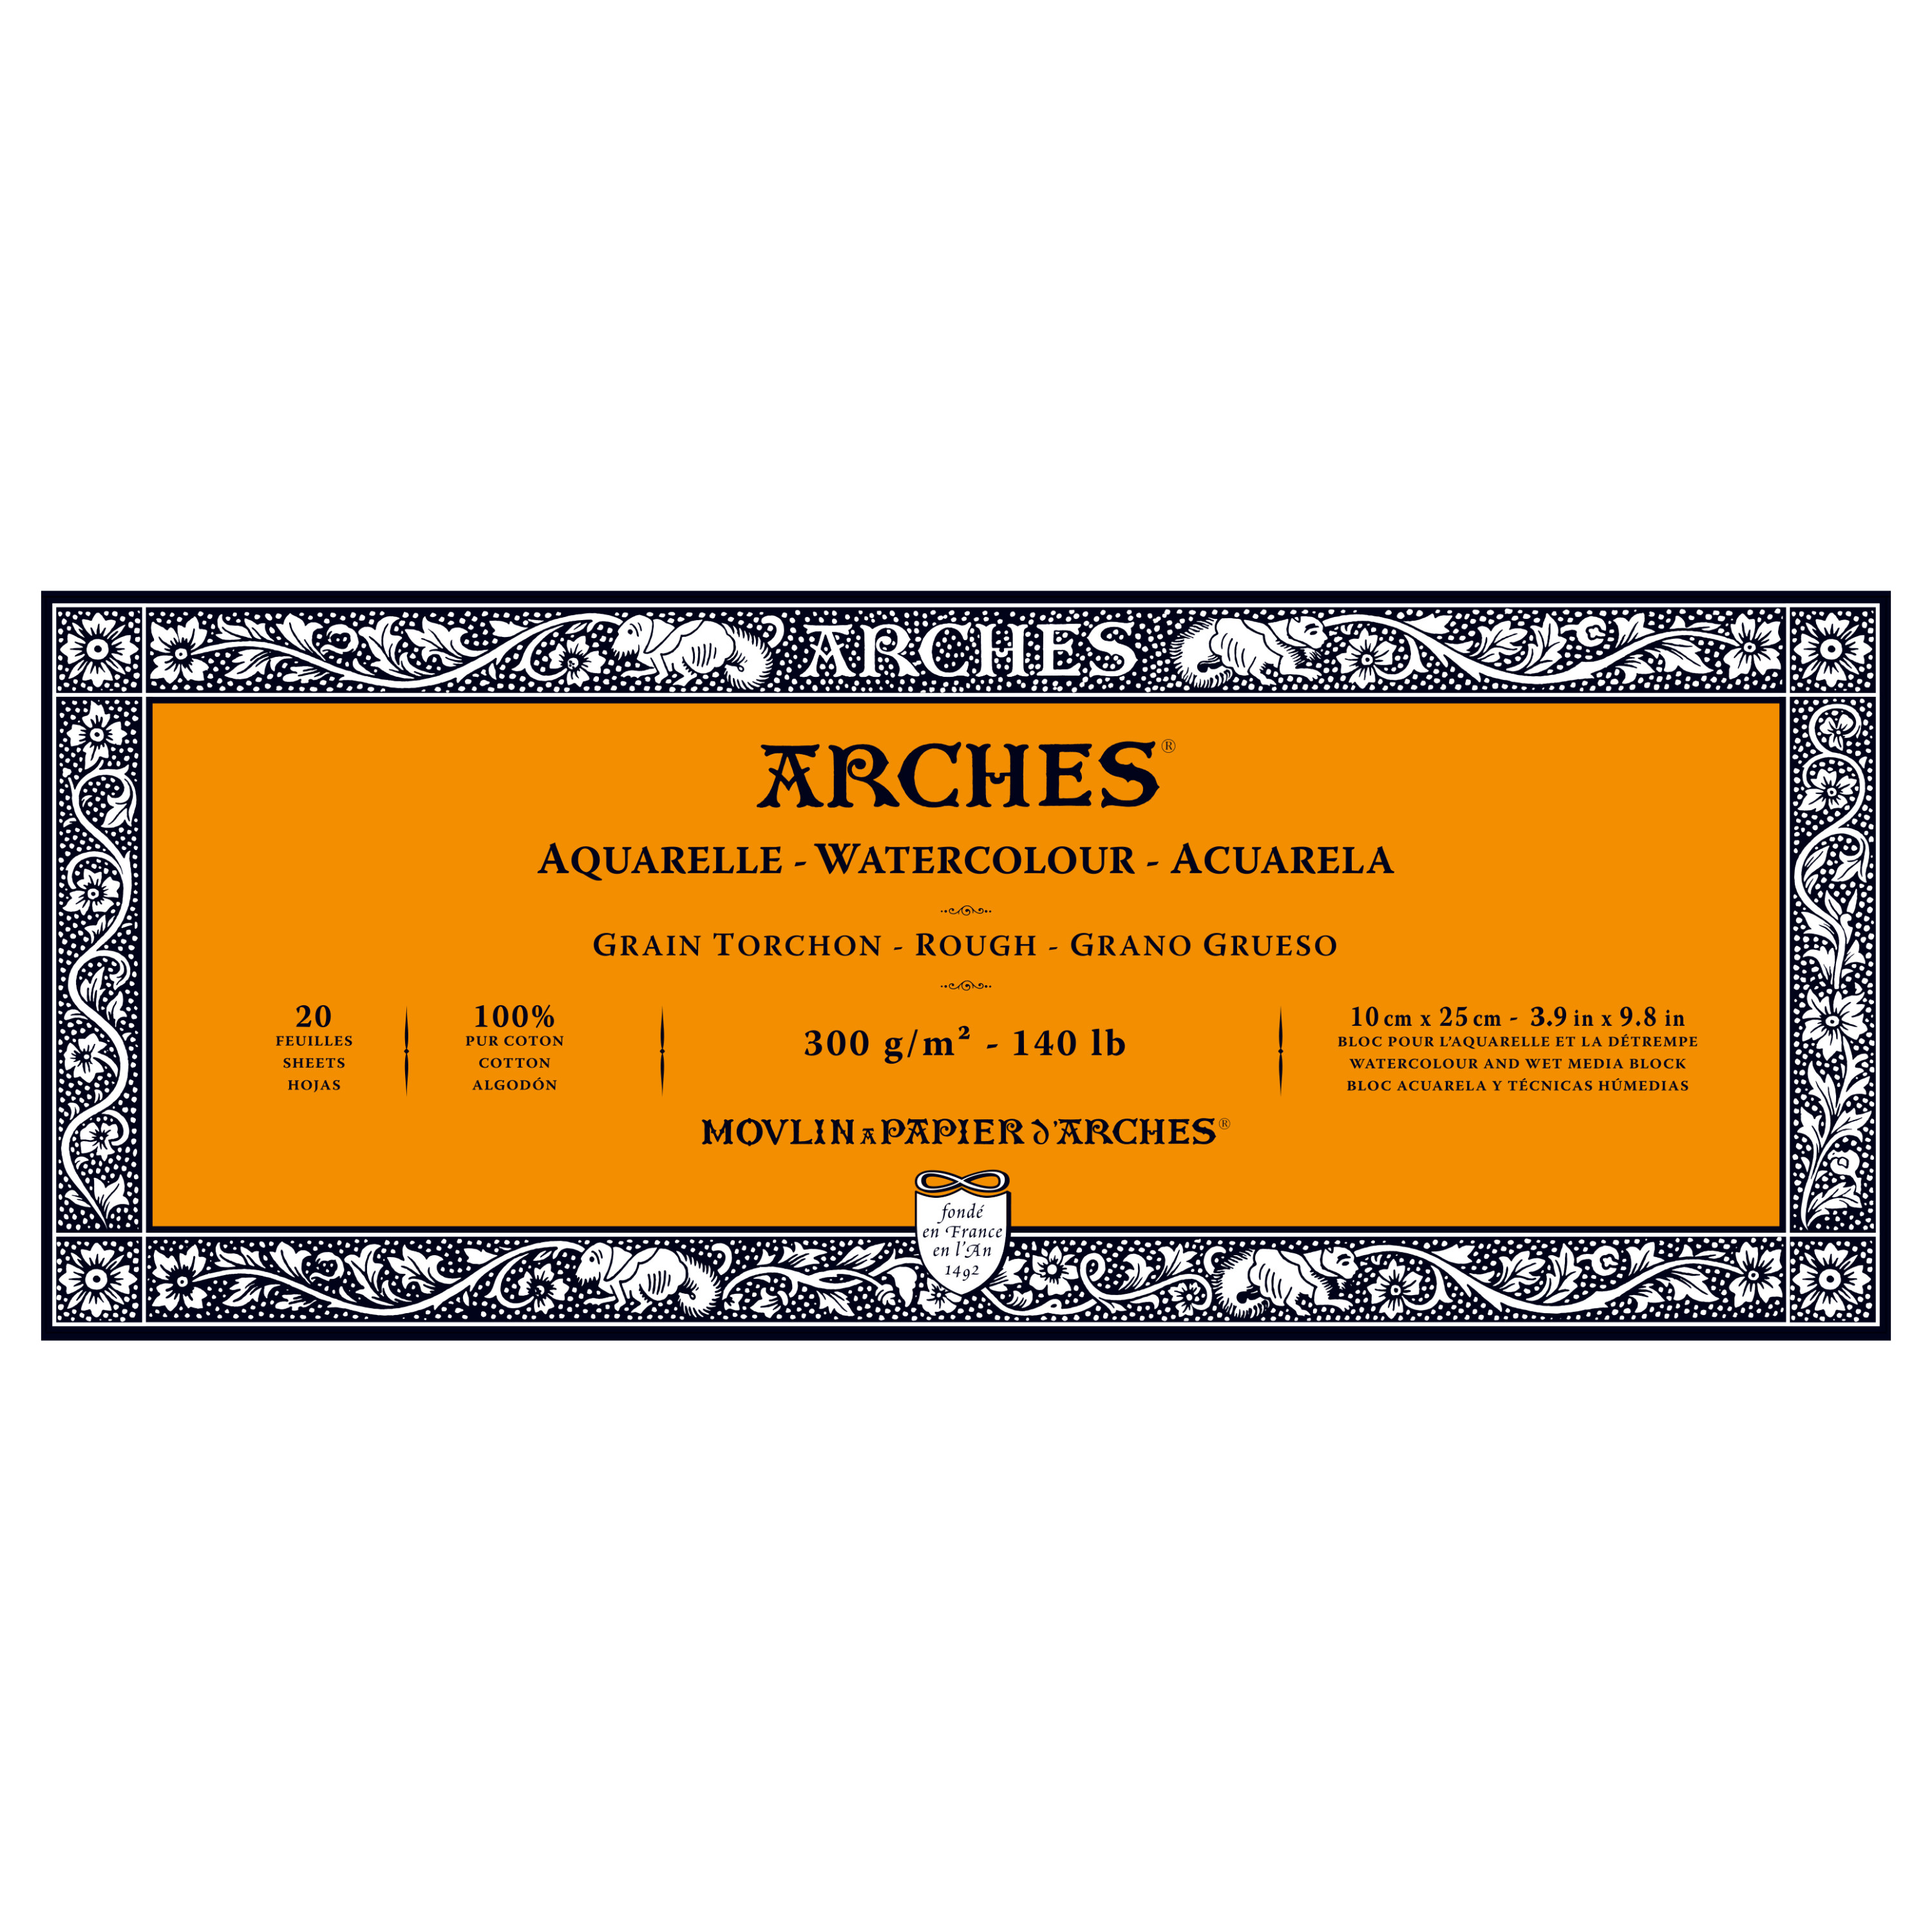
As mentioned in previous post, this brand Arches paper (orange’s cover) above – is very resistant to scratch, and holds a lot of water without bending, and that is the main reason, I am using it for this project. Keep in mind that the Arches paper comes in different sizes, and for each category (especially, the type of texture) there is different color in the cover page.
Additional materials:
Watercolors. For this project I used the Winsord and Newton brand packed into squeezable containers, or, tubes. I used them because they are fluid, and the pigment can be applied directly in the paper – more easily than ‘tablet’ watercolors. See below a picture of these watercolor’s brand:

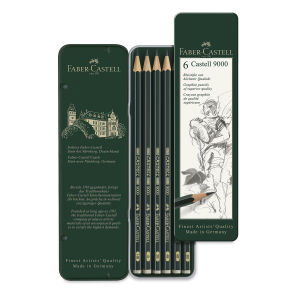
Pencils: any 2HB pencil can work fine, I prefer to use blue color pencil, so, the lines mix with the watercolor pigments later in the process. But any pencil can also work, especially a pencil that is a drawing pencil type. See below a picture of the brand that I use, but again, you don’t need a specific brand if you cannot afford a little costly brand.
Paintbrush. For this project, any good paintbrush can be used. Compared to previous project, this time, we are not using the back of it to draw, this time, we are using a pencil.
Procedure: draw your subject, use a lot of water to complete the painting. After the first layers of watercolor are dry, add another layer of dried watercolor pigment to work on the details. To dry the paper faster, I use a hairdryer, but you can also wait another time/day to complete the project, letting the paper dries by itself, or, naturally.
Project one: The Lake
Below is a video clip of the first project in which I am demonstrating some of the major steps I used used to completed the painting.
Below a full picture of the completed painting:

Second project: Hello! The video clip below show in a time lapse video how the painting was completed:
And, the picture of the completed painting.

Third project of this series: Bleeding Hearts (Plant). The process for this work can be seen in the video clip below:
Now, see a picture of the completed painting:

Conclusion: The key/main point of the three projects presented above in this post is, use a lot of water in the process to complete your watercolor paintings.
What do you think? Give me your opinion.
